AI packaging design: from mockup to production layout
A mockup shows appearance; an unfolded layout shows what belongs on each face. Review both against the same brand and dimensions to avoid rebuilding the design after download.
Start creating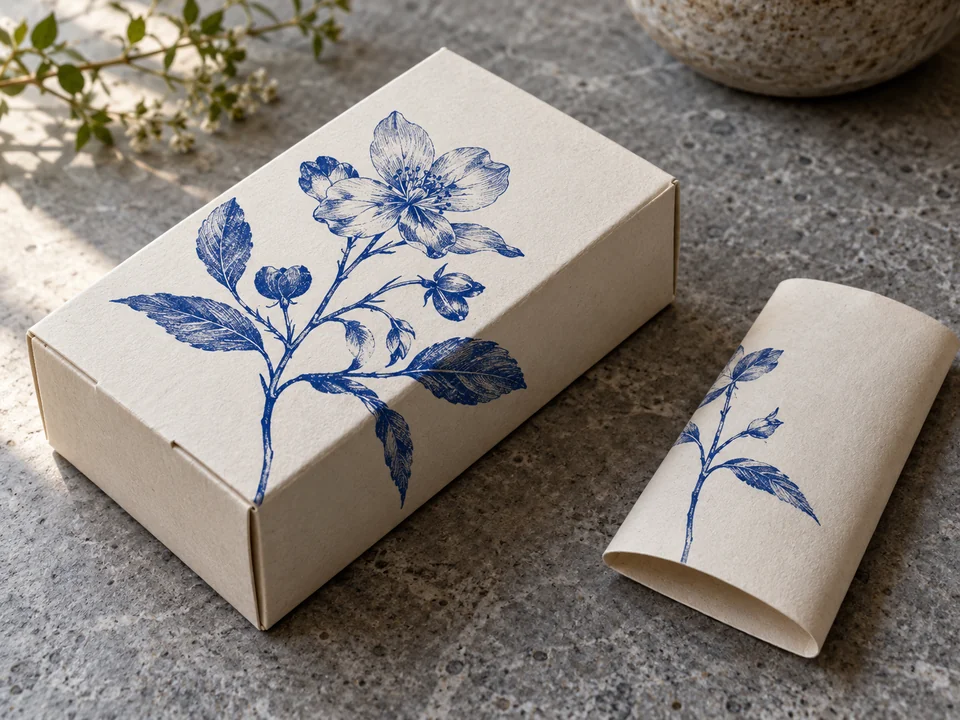
Set the structure and dimensions
Specify the product, box type, length, width, height and units. If a supplier provides a dieline, use it as the dimensional reference. Identify front, back, side and glue areas rather than guessing the structure from a perspective image.
Assign content to each face
Use one logo, brand name and palette. Allocate product names, information and instructions to the appropriate faces. Keep important content away from folds, cuts and bleed zones. After editing a mockup, reopen the production preview to confirm the layout has updated too.
Confirm the manufacturing details
Check exported dimensions, text, logo and selected version. Agree print colours, stock thickness, glue areas, bleed and cutting lines with the supplier, then request a sample. A visual preview or generic unfolded layout does not replace a supplier-approved production dieline.
Try this direction
Design a drawer-style gift box for six scones using our existing logo, cream and navy palette. Confirm the structure and real dimensions first. Put the brand on the front and reserve back-panel space for ingredients and storage instructions.
Open the creative tool ↗Before you export
- Mockup and unfolded layout use the same identity
- Units, folds and important copy are checked
- Supplier has confirmed the dieline and print requirements